Simple, step-by-step how-to guide on reading your car’s oil dipstick and ensuring its oil level is perfectly topped off
By Consumer Reports
Think of motor oil as the lifeblood of your car’s engine. Checking it on a regular basis is a key part of keeping your engine running well and getting the most miles out of it. The oil lubricates the engine’s internal moving parts, keeping them from wearing too quickly. It also helps keep the engine clean by preventing dirt buildup and helps keep it from overheating.
Checking the oil level is a quick, easy job that we recommend you do at every other gas fill-up. All you need is a rag or paper towel, and your car’s owner’s manual if you have questions.
Even if you haven’t been driving the car regularly, you may need an oil change. Oil lasts about six months before it needs to be changed, whether you run the engine or not.
Checking the oil dipstick in a car.
Photo: John Powers/Consumer Reports
How to Check the Oil Level
First, check the owner’s manual and follow the automaker’s recommendations. Some newer cars have an electronic oil monitor and don’t have a traditional dipstick for manual inspection.
If you’re checking the oil yourself, make sure the car is parked on level ground so that you can get an accurate reading. For most cars, you also want to give the engine time to cool off so that you don’t burn yourself reaching into the engine bay. Certain cars recommend checking the oil after the engine has warmed up, however, so this is why it’s worth looking in your owner’s manual first for what you should do.
With the engine off, open the car’s hood and find the dipstick. It often has a plastic loop or handle to make the end easier to hold. Sometimes there can be additional dipsticks for other fluids, such as transmission fluid, so if the stick itself isn’t clearly marked, it’s important to consult your manual to be sure you’re pulling the right one. Pull the dipstick out from the engine and wipe off any oil from its end. Then insert the dipstick back into its tube and push it all the way back in.
The dipstick shows the oil is just a little low, being below the circle. In this case, you could add part of a quart to top it off.
Photo: John Powers/Consumer Reports
Now pull it back out and look at both sides of the dipstick to see where the oil is on the end. Every dipstick has some way of indicating the proper oil level, whether it is two pinholes, the letters L and H (low and high), the abbreviations MIN and MAX, or simply an area of crosshatching. If the top of the oil “streak” is between the two marks or within the crosshatched area, the level is fine.
If the oil is below the minimum mark, you need to add oil as described below.
Used oil is dark.
Photo: John Powers/Consumer Reports
Also, check the oil’s color. It should appear brown or black. However, if it has a light, milky appearance, that could mean coolant is leaking into the engine. Look closely for any metal particles, too, because that could mean there is internal engine damage. If you see either of those conditions, get the car to a mechanic for further diagnosis. If you suspect there could be a coolant leak, have the car towed.
If everything’s okay, wipe off the dipstick again and insert it back into its tube, making sure it’s fully seated. Close the hood and you’re done.
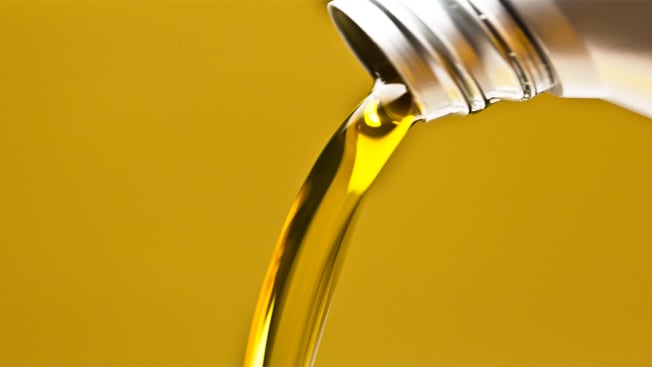
How to Add Engine Oil
Use the viscosity grade of oil recommended in the owner’s manual. It will usually have a designation such as 0W-20 or 5W-30. You can buy it by the quart at any service station or auto parts store, as well as in many supermarkets and discount retailers.
Be wary of ultra-cheap oils from unknown brands, however, which sometimes deceptively market subpar or obsolete oils that can harm modern engines. The Petroleum Quality Institute of America, an advocacy group that analyzes the composition and effectiveness of vehicle fluids, recommends looking for oils that clearly state “SAE” ahead of the viscosity grade, include a “W” in that viscosity grade (e.g., “5W-30” as opposed to “5-30,” as your manual probably recommends), and say they meet the standards of an independent certification group like the American Petroleum Institute (API), International Lubricant Specification Advisory Committee (ILSAC), or Dexos.
To add oil, remove the oil filler cap, usually located on top of the engine. It helps to use a funnel to ensure that oil doesn’t spill onto the engine, other parts, or even the floor.
Because overfilling an engine with oil is harmful, you should add oil a little at a time. Start by adding about half a quart. Using a clean funnel helps avoid spills. Wait a minute or so and check the dipstick again. If the level is still below or near the minimum mark, add the rest of the quart. Most cars will rarely need to add more than a quart, with the lone exception of a car that’s been sitting for a while. However, if a second quart is needed, add that slowly as well, checking as you go.
Screw the oil filler cap back on securely once you have the proper amount of oil.
If you find yourself adding oil fairly regularly, your engine may have a mechanical issue that causes it to leak, burn, or consume oil. Check it more often—say, at every fill-up—and consider having it checked out by a mechanic.
More on Car Maintenance
• Should You Use Synthetic Oil in Your Car?
• 5 Things to Know About Oil Changes for Your Car
• Car Maintenance & Repair Costs by Brand
• How to Make Your Car Last 200,000 Miles and More
• Who Makes the Most Reliable New Cars?
Consumer Reports is an independent, nonprofit organization that works side by side with consumers to create a fairer, safer, and healthier world. CR does not endorse products or services, and does not accept advertising. Copyright © 2026, Consumer Reports, Inc.